

A quilt, tent body, and spare layers need dry, stable positions based on weight, use, and shape. A loaded pack can feel fine in a parking lot, then pull on your shoulders during a rocky descent. Your comfort depends more on placement than specialized gear.
This walkthrough helps you plan a realistic load, protect camp gear, keep trail supplies close, and fit a backpacking backpack for several nights outdoors.
Trip Demands Set Your Weight Budget
Build a route-specific load
Three nights in dry Utah call for a different load than three wet nights in the Smokies. Route mileage, elevation gain, water sources, permit rules, forecast lows, and camp regulations decide what earns room in your pack.
Your multi-day backpacking packing list starts on the floor, not inside the backpack. Group shelter, sleep system, kitchen gear, clothing, safety supplies, food, and water before deciding what travels with you.
- Route notes: Mark water gaps, exposed ridges, steep descents, and resupply points on your map before choosing clothing and water capacity.
- Forecast range: Pack for the expected low temperature and rain chance rather than every weather event from an entire season.
- Required storage: Check permit terms for bear-resistant food storage, campfire limits, and waste rules before loading a food bag.
- The Ten Essentials: Carry navigation, sun protection, insulation, illumination, first aid, fire, repair gear, nutrition, hydration, and emergency shelter.
- Sleep system: Match your sleeping bag, sleeping pad, and shelter to overnight temperatures and ground conditions.
Base weight includes everything in your pack except consumables: food, water, and fuel. That distinction explains why a four-day load grows far faster than an overnight load, especially where water sources sit 8 miles apart.
| Load category | What belongs there | What changes with trip length |
|---|---|---|
| Base weight | Shelter, sleep gear, clothing, stove, repair kit | Little change |
| Food | Meals, snacks, drink mix, trash bags | About 1.5 to 2 pounds per day for many hikers |
| Water | Bottles or hydration reservoir | One liter weighs about 2.2 pounds |
| Fuel | Canister fuel or alcohol fuel | Rises with cooking time and group size |
Osprey, Gregory Mountain Products, and Deuter packs have different pocket layouts and frame shapes, yet no backpack can hide an oversized load. Leave duplicate tools, extra outfits, and comfort items behind unless they match your route.
Your route plan now sets a useful ceiling. The next task is arranging that weight so dense gear stays close to your body rather than swinging away from it.
Weight Zones Keep the Load Stable
Hold dense gear near your torso
A cook pot filled with food acts like a pendulum when it sits far from your back. Dense items belong close to the back panel and around the middle of your torso, where your body carries them with less sway.
Backpacking pack weight distribution changes your center of gravity, the point where the load feels centered over your body. Gear packed too high pulls you backward, while gear packed too low can drag at your hips and make steep climbs clumsy.
Your left and right sides need similar weight. A full Nalgene bottle on one side and an empty pocket on the other can twist the pack and add shoulder strain over a long day.
Reserve the lower chamber for soft gear
The answer to where to pack a sleeping bag in a backpack is low in the main compartment. Put it inside a pack liner or dry bag with sleeping clothes and other soft camp-only pieces that you will not need before camp.
A compression sack cuts bulk, yet crushing down insulation tightly for weeks can weaken its loft. Compress it for the trail, then air it out at home after your trip.
Keep tent poles close to the frame or inside a side sleeve only where the sleeve holds them firmly. Long poles that slide below the pack can catch rocks and roots.
That low, soft layer gives hard gear a stable seat above it. Your food and water then need positions that keep them balanced without exposing dry gear to leaks.
Dry Storage, Water, and Food Form the Core Load
Seal gear that cannot get wet
Rain cover fabric sheds some weather, yet water can still enter through seams, zippers, and the back panel. Line the main compartment with a durable pack liner, then seal sleeping gear, spare layers, and electronics in separate dry bags.
Your phone, paper map, and insulating jacket deserve separate protection from a leaking bottle. Sea to Summit dry bags work well for grouping gear, though any intact waterproof sack with a reliable closure can serve the same purpose.
Set water and food near the center
Fill your hydration reservoir before surrounding it with gear. Slide the full reservoir into its sleeve, route the hose through its port, and confirm that you can remove it for refills without emptying half the pack.
Food belongs near the center because it is dense and shrinks each day. For how to pack food for a backpacking trip, divide meals by day in labeled bags, keeping the next meal near the top and later meals deeper inside.
National Park Service rules vary by park and trail corridor. Store food, toothpaste, lip balm, cooking scraps, and trash in the required bear canister or hanging system, then follow Leave No Trace practices at every camp.
Never wedge a full bear canister against a hydration reservoir. A hard edge can press on the bladder during a fall or while you lean against a rock.
Your central load now has a stable order: soft insulation low, dense supplies against your back, and water where refilling remains simple. Load the backpack in that order to keep the arrangement intact.
Bottom-to-Top Loading Holds Gear in Place
Follow a stable loading sequence
Filling the lower corners with soft gear creates a stable base for the rest of the load. A sleeping bag, sleep clothes, and inflatable sleeping pad form a cushioned base and leave the central zone ready for compact weight.
- Line the interior: Put the pack liner inside the main compartment and fold excess material outward while you load.
- Add sleep gear: Set your sealed sleeping bag and camp clothing into the bottom, filling gaps with soft layers.
- Set dense items: Put the cook kit, food bag, or bear canister against the back panel at mid-torso height.
- Add shelter parts: Tuck tent fabric around hard items and position tent poles where they cannot jab your back.
- Finish the top: Put light camp items and the next meal near the opening, then close the pack liner.
- Tighten straps: Pull compression straps until empty space disappears and gear cannot shift during a scramble, stream crossing, or downhill step.
A compact two-person tent can stand vertically beside a bear canister, with tent fabric filling the curved space around it. Your stove and fuel canister can sit inside a cook pot, stopping small metal pieces from rattling.
Heavy pieces belong close to your spine, above the sleeping bag and below light top-layer gear. This arrangement answers how to distribute weight in a hiking backpack without putting dense items at either extreme.
Accessible Trail Gear Saves Unpacking Time
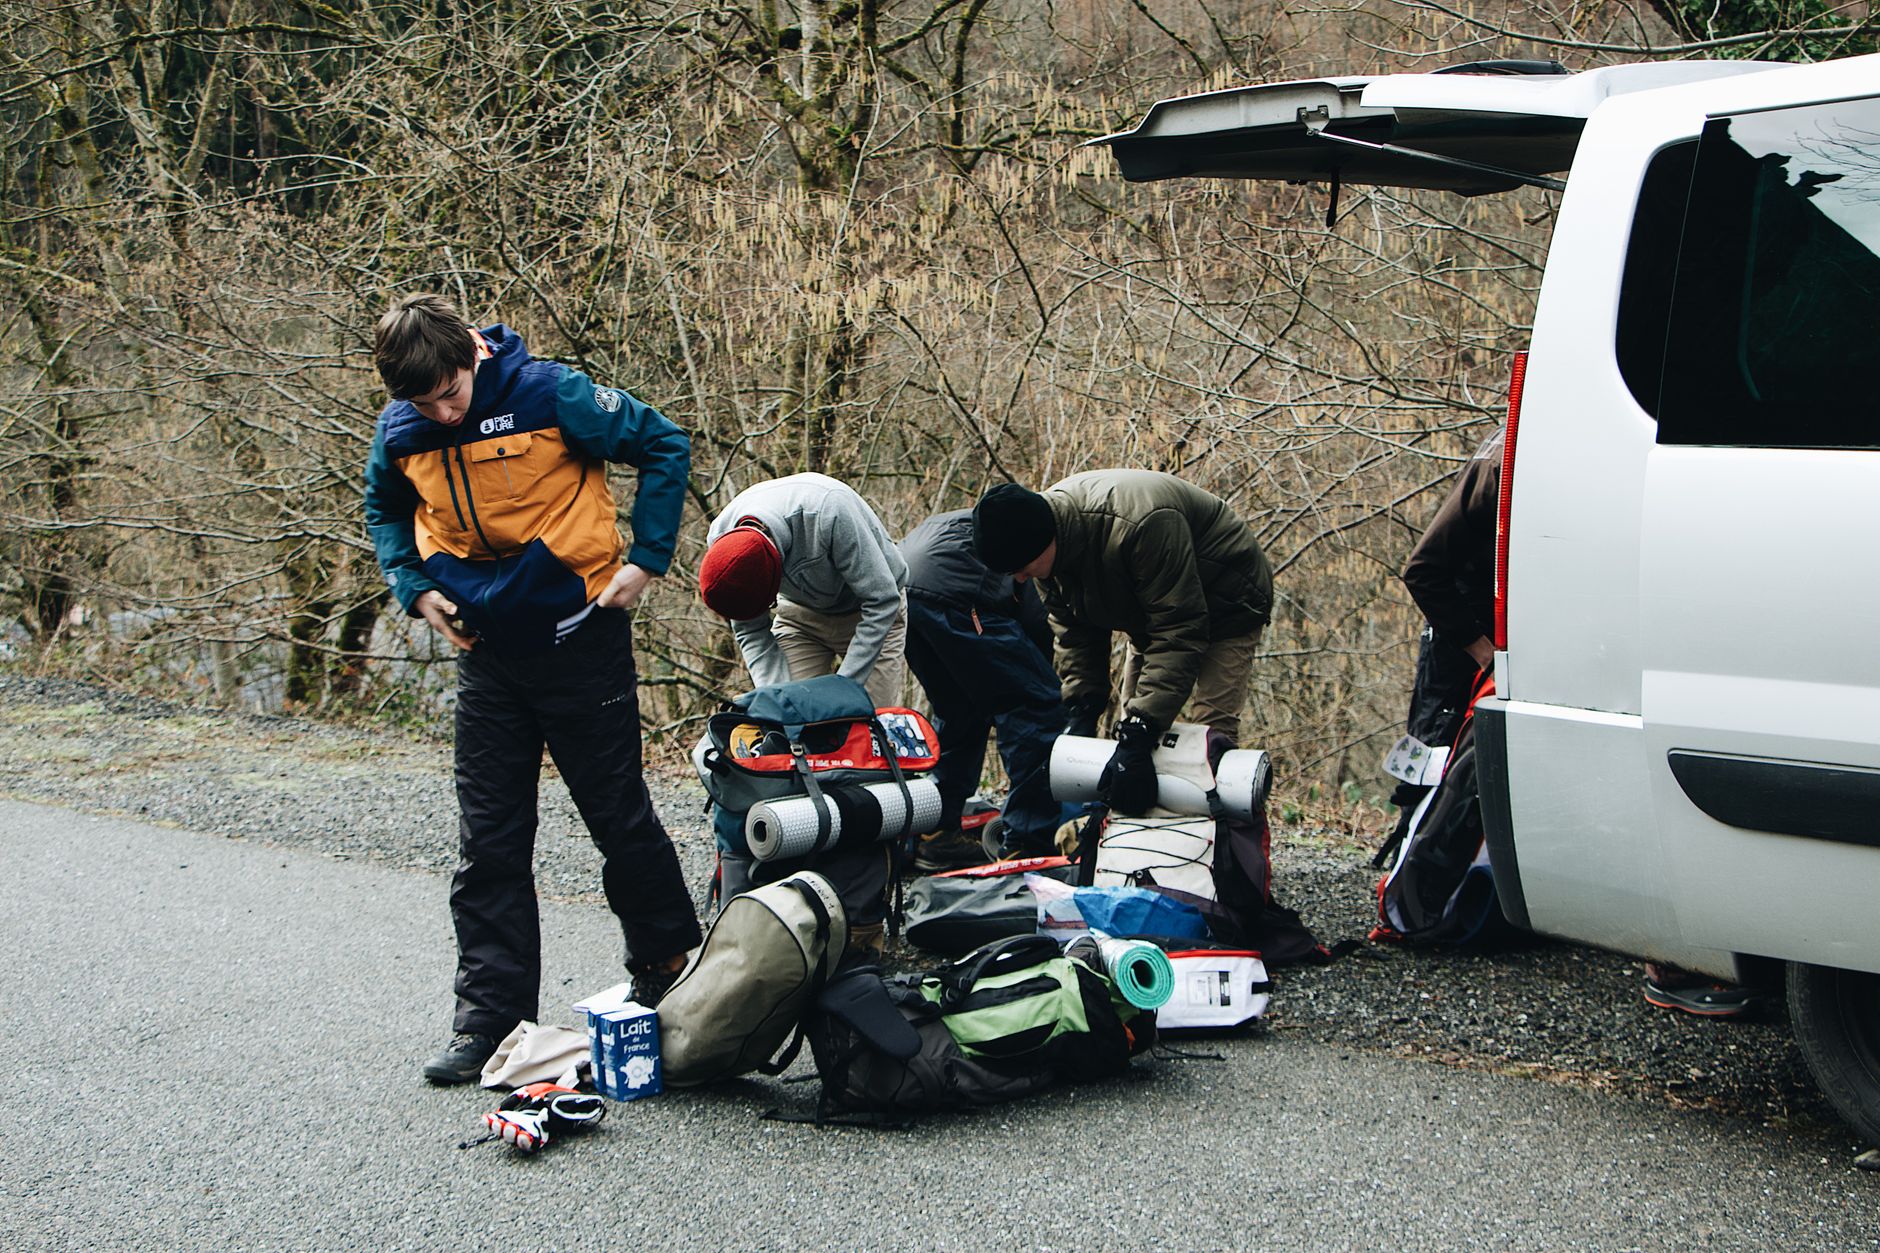
Match pockets to likely conditions
Rain can arrive during a lunch stop rather than at camp. Put rain gear in the lid or outer stretch pocket, where you can grab it without exposing your dry interior to wind-driven water.
Your hip belt pockets suit compact items used throughout the day. Store snacks, sunscreen, lip balm, a small compass, and water treatment tablets where your hands can reach them while the pack stays on.
- Navigation tools: Keep your map, compass, and charged GPS device in a lid pocket or weatherproof chest pouch.
- Rain layer: Stow a shell near the top opening or front pocket, away from dry sleeping equipment.
- Headlamp access: Put a headlamp beside your first-aid kit so a late arrival does not require a full unpack.
- Water treatment: Carry a filter, tablets, or drops beside water bottles for quick use at a creek.
- Fast calories: Keep one snack within reach for the final climb or an unexpected delay.
External attachment points work for secure, lightweight pieces such as a foam sit pad or empty sandals. Dangling cookware, loose trekking poles, and wet socks can snag brush, shift your load, or disappear on a narrow trail.
Your access choices should match the day ahead. On repeated storm days, your shell and pack cover need faster access than a camp mug; on dry desert miles, water treatment and sun protection move forward.
Pack Fit Transfers Weight to Your Hips
Set the suspension after loading
Load lifters cannot fix a backpack that rests on your shoulders. Put on the filled pack, center the hip belt over the top of your hip bones, and tighten it until most of the weight settles on your pelvis.
Then snug the shoulder straps without hauling the load upward, tighten load lifters at a modest upward angle, and close the sternum strap without restricting breathing. Compression straps come last because they control movement after the interior is set.
Walk with the full trail load
You can find a poor packing choice in 10 minutes on stairs. Walk uphill, step down from a curb, bend to reach a bottle, and turn sharply with the same weight you plan to carry outdoors.
A pull on one shoulder points to uneven side loading. A backward tug points to dense gear sitting too far from your back, while a hip-belt pinch can mean the belt sits too high, too low, or does not fit your body shape.
Remove nonessential duplicates before changing suspension settings. A redundant knife, oversized battery bank, or extra fleece adds discomfort that no strap adjustment can solve.
Final Load Check Keeps Every Pound Useful
A comfortable multi-day load works like a close-fitting shell: soft camp gear low, dense supplies close to your torso, dry items sealed, and trail essentials near your hands. Your final task in it is not squeezing in more gear.
Instead, make every pound stable, protected, and useful. Your backpack should move with your body through a steep climb, a creek crossing, and a late arrival at camp without forcing a full repack.
FAQ
How much weight should you carry for a multi-day hiking trip?
Your safe carrying load depends on fitness, terrain, pack fit, food, and water needs rather than a single percentage of body weight. Start by cutting unnecessary base weight, then add consumables. A dry two-night route can need far less water weight than a long stretch without reliable sources.
What pack arrangement distributes weight well in a backpacking pack?
Place dense items close to your back and around the middle of your torso, directly above low-packed sleeping gear. Keep your left and right sides close in weight. That position keeps your center of gravity near your body and reduces side-to-side pulling on uneven ground.
Where should you pack your tent, sleeping bag, and food?
Your sleeping bag belongs low in the main compartment inside a waterproof liner or dry bag. Put food close to the back panel at mid-torso height, subject to bear canister rules. Tent fabric can fill open spaces around hard items, while poles need a firm sleeve or internal position.
What items should be easy to reach while hiking?
Keep rain gear, map, compass or GPS device, headlamp, first-aid kit, snacks, sunscreen, and water treatment within quick reach. Lid pockets, hip belt pockets, and stretch pockets work well because you can reach those supplies without unpacking your shelter or sleeping gear.
Should a hydration reservoir go in before other gear?
Yes, fill and position your hydration reservoir before packing surrounding equipment. Its dedicated sleeve sits against the back panel in many packs, and loading it early keeps the hose clear. You also avoid digging through food and clothing every time your water supply needs a refill.
