

After a wet trip, moisture, grit, body oil, and loose hardware can remain in place until equipment performs poorly. A wet tent packed on Sunday can sour before Friday, and fabric softener on a rain shell can disrupt water beading and breathability.
Here, you’ll sort cleaning, drying, storage, inspection, and restoration tasks across shelters, insulation, footwear, water systems, and power gear for regular campers and hikers.
Small Habits Shorten Gear Life
A dirty zipper rarely fails in one dramatic moment. Grit settles between its teeth, moisture stays in the tape, and the slider starts to drag until force bends it. Your equipment follows that pattern: minor neglect turns into a harder repair later.
A Repeatable Sequence Catches Damage Early
Clean-looking equipment can still hold salt, skin oil, pine pitch, and fine dust. Those contaminants trap moisture, wear moving parts, and reduce fabric performance. You protect warmth, weather resistance, and reliable operation through a short reset after every trip.
- Inspect before packing: Check bent poles, torn webbing, loose screws, frayed cord, sticky valves, and worn seams while damage is still visible.
- Remove loose debris: Shake out sand, needles, crumbs, and mud before they grind into seams, zippers, and coatings.
- Match the cleaning: Use a method suited to mud, body oil, smoke, salt, or fuel residue rather than rinsing every item the same way.
- Dry hidden areas: Open pockets, loosen straps, and air-dry folds, seams, and interiors before storage.
- Check before departure: Confirm that repairs, batteries, seals, and water-resistant layers still work before leaving home.
Do not seal damp gear into a plastic tote. Trapped humidity feeds mildew, produces odor, and can weaken polyurethane coatings long before your next campout.
These outdoor gear maintenance mistakes affect safety as much as appearance. A corroded stove valve, weak tent guy line, or wet sleeping bag can turn a comfortable night into a cold and complicated one. Your post-trip reset is where small defects are easiest to spot and address.
Start with the parts that carry load, contain fuel, or keep moisture out. A zipper, buckle, seam, or O-ring gives clearer warning at home than it does during rain, wind, or darkness at camp.
Materials Set the Rules for Cleaning and Drying
That early inspection tells you what material needs attention. Water beading, insulation loft, leather flexibility, and corrosion resistance rely on different surfaces and structures. A household detergent and a hot dryer setting cannot suit every item in your gear bin.
Your care label sets the limit for heat, wash cycle, and cleaning product. Technical outerwear and durable water repellent coatings, waterproof-breathable membranes, down items, and coated tents each react differently to residue and heat.
Residue Changes Technical Fabric Performance
Regular detergent can leave surfactants on waterproof-breathable membranes. Fabric softener leaves a coating that reduces breathability and interferes with durable water repellent performance. Use a cleaner intended for technical outerwear, such as a Nikwax product, only where the garment label allows it.
Surface dirt needs a rinse or gentle wash. Body oils call for a thorough technical cleaner, while salt from sweat needs prompt freshwater rinsing. Campfire smoke can need repeated gentle washing rather than heavily scented products that leave another residue on your shell.
| Material or part | Main concern | Practical care approach |
|---|---|---|
| Technical shell | Oil and detergent residue | Use technical wash, rinse fully, then use heat only where the label allows. |
| Down insulation | Clumped fill and lost loft | Wash sparingly with down-specific cleaner and dry fully with clean dryer balls where permitted. |
| Synthetic insulation | Compressed fibers and odor | Use gentle washing and room-temperature air drying unless the label allows machine drying. |
| Leather boots | Dried leather and trapped mud | Brush dirt away, air-dry slowly, then use suitable boot conditioner sparingly. |
| Metal hardware | Salt and moisture | Rinse, dry, and inspect pivots, buckles, stove threads, and pole ferrules. |
Patagonia and Osprey place care details on product labels because fabrics, foams, and coatings vary across models. You gain more from those directions than from copying a cleaning shortcut meant for another material or product line.
For how to clean hiking gear, separate fabric, leather, metal, and foam before washing anything. That simple sort keeps boot conditioner off rubber rands and keeps harsh cleaners away from coated tent fabric.
Moisture, Heat, and Sunlight Leave Lasting Damage
Residue is only part of the problem. A wet tent floor folded against itself becomes a dark, humid pocket where mildew can grow, odor can settle, and waterproof coatings can weaken. Your drying routine starts with opening every panel, pocket, and stuff sack after the trip.
Compression Flattens Down Insulation
Down works because thousands of tiny filaments hold still air. Long compression flattens that structure and reduces sleeping bag loft. Store your down sleeping bag loosely in a large breathable sack or hang it in a dry closet instead of leaving it in its trail-size stuff sack.
Synthetic sleeping bags and insulation tolerate compression somewhat better, yet loose storage still protects their shape. Dry either type completely before putting it away, since damp insulation can smell stale and lose dependable warmth.
Heat and UV Exposure Damage Gear Quietly
High heat can warp footwear adhesives, damage tent coatings, and shrink some laminated fabrics. Use room-temperature air drying, moving air, and shade rather than a radiator, dashboard, or close campfire. Your patience protects glued soles and seam tape.
Extended sunlight weakens nylon tent fabric and waterproof coatings. Take down shelter once it is no longer needed rather than leaving a tent pitched in full sun all afternoon. That habit reduces UV exposure on fly fabric, mesh, and tensioned seams.
Wet water filters need protection from freezing because expanding ice can damage internal media that your eyes cannot inspect. Keep lithium-ion batteries and headlamps cool and dry, away from prolonged full depletion and extreme heat. A hot vehicle can shorten battery life far faster than a night in a closet.
These outdoor equipment storage tips start with air movement and shade. Gear lasts longer in a dry closet or ventilated room than in a sealed tote stored in a hot garage.
These environmental stresses accumulate fastest at the seams, closures, and contact surfaces that see the most use.
High-Wear Gear Needs Focused Care
Sand trapped beneath a tent floor and mud packed into boot lugs both act like sandpaper. Attention to high-wear equipment after each outing keeps small stress points from spreading. Your routine should cover shelters, footwear, packs, stoves, and water systems before less-used extras.
Tents Need Attention Beyond the Rainfly
Shake out debris, then dry every panel, mesh pocket, stake bag, and groundsheet. Inspect tent seams for lifting tape, inspect poles for splinters or cracks, and run your fingers along guy lines for abrasion. Small seam leaks respond well to tent seam sealing before rain reaches the interior.
Gear Aid makes patch materials and seam products suited to many outdoor fabrics, though fabric type still matters. Clean and dry the damaged area before placing a patch because dust and moisture weaken adhesion.
Footwear and Packs Need Gentle Mechanical Care
Remove mud from boot seams, sole lugs, eyelets, and tread edges with a soft brush. Air-dry trail shoes at room temperature with laces loosened and insoles removed. Your leather boot conditioner belongs on compatible leather, not on every synthetic panel or rubber rand.
Clean boots after muddy outings and rinse salt after coastal or winter travel. Waterproofing belongs after cleaning and drying, where the boot material and maker directions permit it. That timing helps the treatment reach a clean surface rather than sealing grime against the upper.
Pack zippers need similar attention. Brush grit from the teeth, rinse salty residue, and work the slider slowly. Lubricant belongs only on clean hardware because lubricant over grit creates a paste that can worsen dragging.
Fuel and Water Systems Need Close Inspection
Detach fuel canisters from backpacking stoves before storage. Attached canisters place ongoing stress on seals and raise the chance of a slow leak. Inspect the O-ring, burner ports, and threads before packing your stove for another overnight.
A camping stove needs clean burner ports, undamaged threads, an intact O-ring, and a stable connection between stove and fuel canister. Use the maker’s specified cleaning tool for a dirty jet, and keep fuel residue away from fabric gear.
Clean hydration reservoirs with warm water and a manufacturer-specified method, then dry the hose and bladder fully. Water filters need their own directions followed exactly, especially backflushing direction, drying limits, and cold-weather care. Your filter is not a generic bottle accessory.
For camping gear care tips that prevent mold, hang a reservoir open with its cap removed and keep the hose separated from the bladder. A closed bladder can hold enough moisture in its folds to develop odor between outings.
Restoration Has Clear Limits
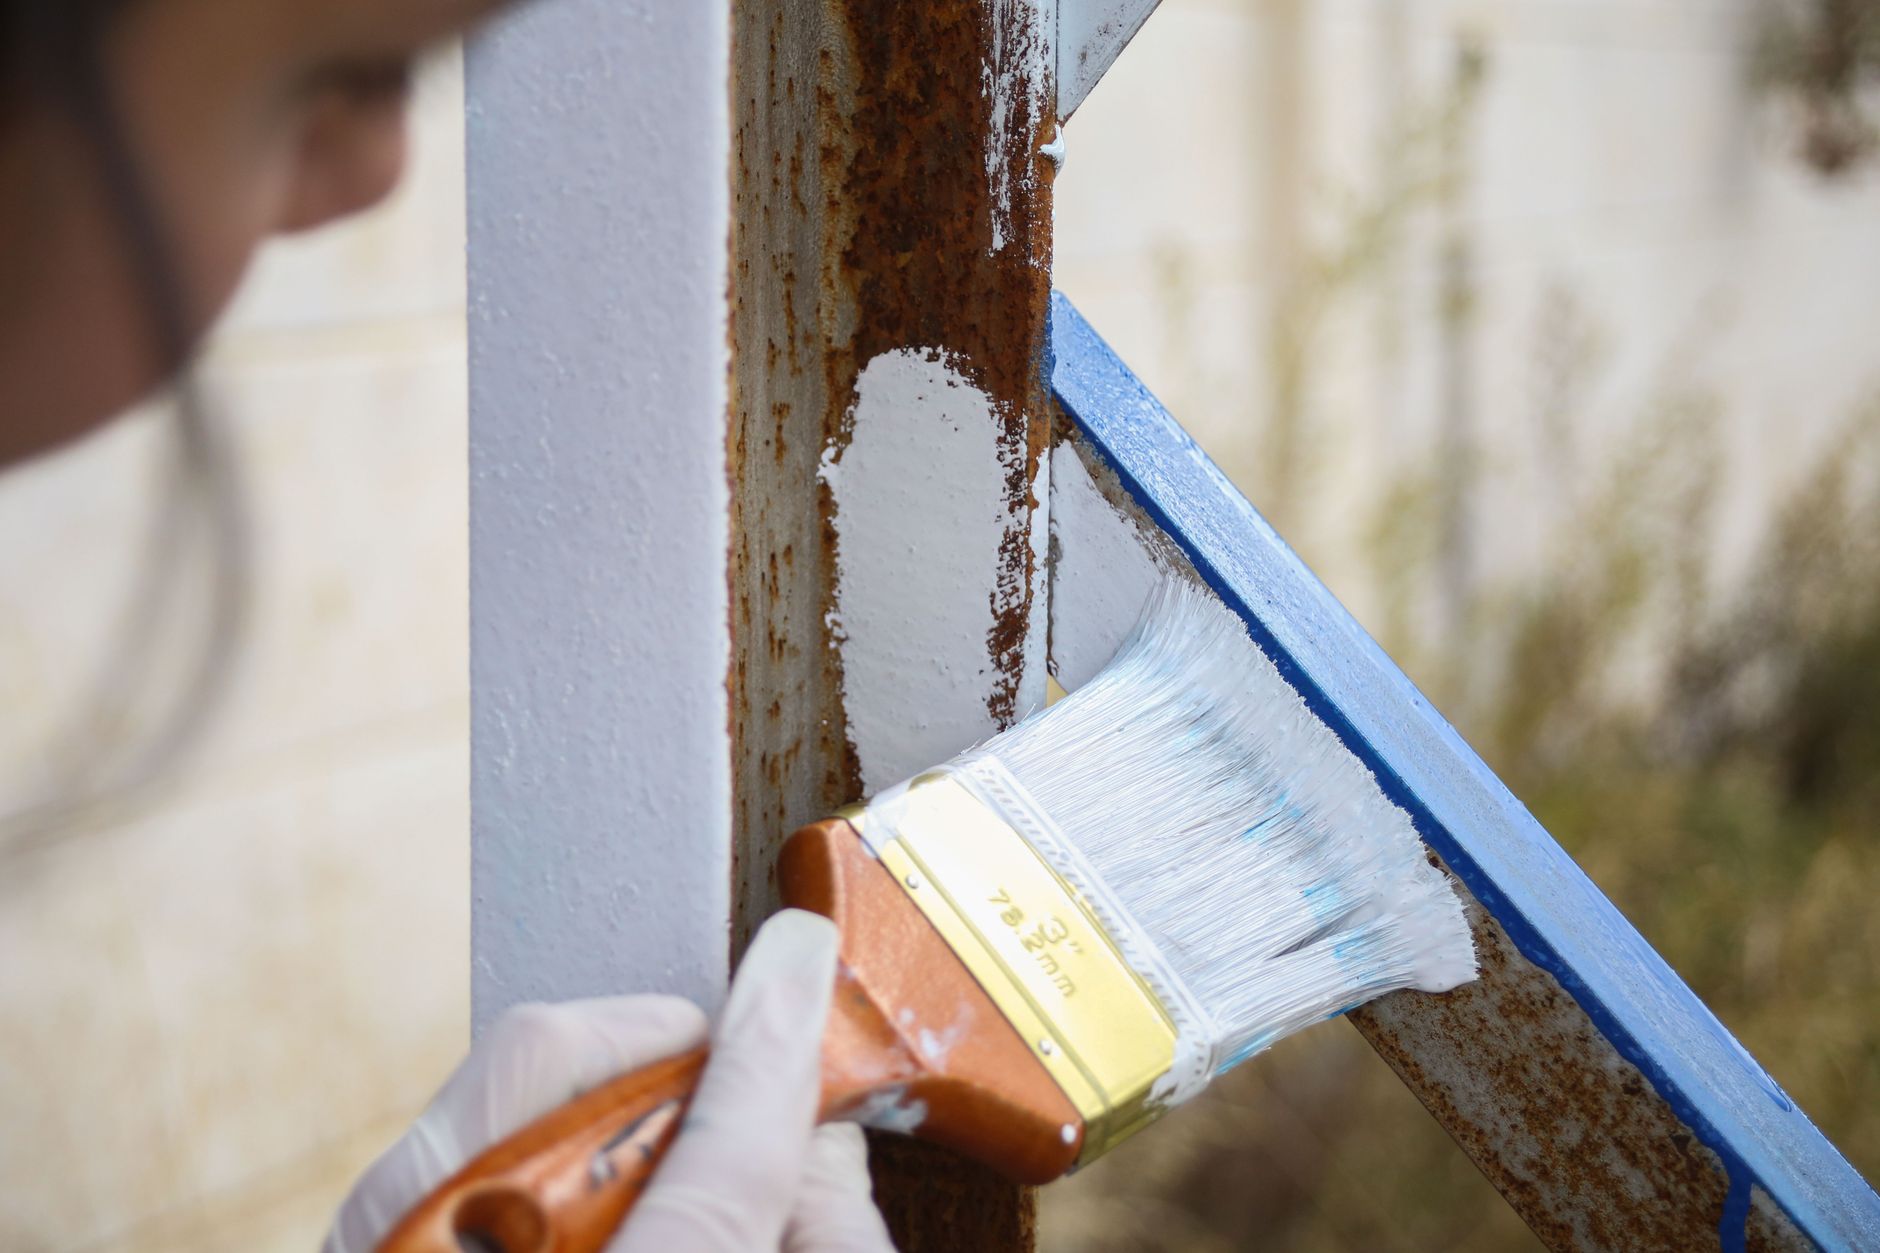
Wear does not always mean a piece of gear has reached the end of its usable life. Water soaking into a rain jacket can point to dirt and oil masking the DWR finish while the membrane still blocks liquid water. You can restore performance through cleaning, permitted heat activation, or a compatible fabric waterproofing treatment.
Water Repellency Fails in Different Ways
| Visible symptom | Likely cause | Next action |
|---|---|---|
| Water spreads across a dirty shell | Oil or soil blocks the finish | Wash with technical cleaner and rinse thoroughly. |
| Clean shell wets out after washing | DWR needs heat activation | Use low heat only where the garment label permits it. |
| Water still soaks in after cleaning | DWR finish has worn away | Use a compatible reapplication treatment after cleaning. |
| Water enters through one seam | Seam tape or sealant has failed | Dry the area and reseal it with a suitable seam product. |
How to waterproof outdoor gear starts with cleaning, not with coating over dirt. A clean rain shell that still wets out may need label-permitted heat or a compatible DWR treatment. Water entering through one seam points instead to failed seam tape or sealant.
Minor issues deserve a focused response. Worn shock cord can be restrung, a dirty stove jet can be cleaned with the maker’s specified tool, a clogged filter can be backflushed where permitted, and a loose boot lace can be changed before it damages an eyelet.
Climbing ropes, harnesses, carabiners, fuel systems, and swollen or damaged batteries sit outside casual repair work. Retire safety equipment after cuts, core exposure, serious chemical contact, impact damage, bent gates, cracked housings, or unexplained behavior. You should make a conservative choice where failure could injure you.
Routine care can prevent many issues, yet structural damage and safety-critical defects demand replacement rather than repair.
A Two-Part Routine Reduces Last-Minute Problems
Restoration works best before a trip creates urgency. The home inspection catches problems that are hard to solve beside a campsite, and a two-part routine turns outdoor gear maintenance mistakes into visible tasks. Your notes can be as plain as a strip of masking tape on the storage bin.
The Post-Trip Reset Takes Minutes
- Empty every pocket: Remove food crumbs, fuel, batteries, wet socks, trash, and loose stakes before storing anything.
- Clean visible soil: Brush mud from boots, rinse salt from hardware, and wipe stove threads with a dry cloth.
- Dry all interiors: Open tents, sleeping bags, reservoirs, packs, and footwear until hidden seams and interiors feel dry.
- Store with space: Keep down bags loose, detach fuel canisters, and place lithium-ion batteries in a cool, dry location.
- Write one note: Mark needed seam work, filter service, boot care, or battery charging before the next departure.
A gear maintenance checklist works because it separates drying from storage. Equipment can look dry on the outside while moisture remains in boot padding, reservoir tubing, tent pockets, and sleeping bag baffles.
The Pre-Trip Check Targets Failure Points
Set out your tent before a major trip and inspect seams, poles, guy lines, stakes, and waterproof coatings. Check boot soles for separation, inspect stove seals, confirm filter condition, and charge your headlamp. You should inspect climbing equipment under bright light, then retire any item with damage beyond maker limits.
Choose reproofing where a clean shell still wets out, professional service where a technical system needs parts or specialized tools, and retirement where structural or safety damage exists. Problems found at home leave you time for a careful fix; problems found at camp leave fewer options.
To maintain outdoor gear through a full season, keep the reset routine short enough to repeat after every outing. Ten focused minutes spent drying, brushing, and inspecting can spare you a failed zipper, musty tent, or dead headlamp later.
Final Thoughts
Gear lasts through disciplined ordinary care rather than heroic rescue work. Clean contaminants before they settle, dry hidden moisture before storage, inspect loaded parts before travel, and treat safety equipment with caution. Your equipment does not need constant attention, but it needs the right attention at the right moment.
That steady routine keeps moisture, grit, and damaged parts from reaching the point where repair is no longer sensible. You’ll head out with a clearer view of what is ready for use and what needs work before the trip.
FAQ
How many outings should pass before you clean outdoor gear?
Clean visible mud, salt, food residue, and sweat after every trip. Your technical shell or sleeping bag needs a full wash less frequently, based on odor, reduced breathability, visible soil, or poor water beading. Light cleaning after each outing is gentler than allowing grime to build for a season.
What happens if you store camping gear while it is damp?
Damp camping gear can develop mildew, sour odor, corrosion, and weakened coatings during storage. Your tent, pack, boots, and sleeping bag need open air around folds, pockets, and padding until every hidden surface is dry. A closed tote traps moisture and makes damage harder to spot.
How do you restore waterproofing on a rain jacket?
Wash your jacket with a technical cleaner, rinse it well, and follow the care label for heat activation. Water that still spreads across the clean face fabric points to worn DWR treatment, so use a compatible reapplication product. Your membrane can still function while the outer fabric wets out.
Should you store a sleeping bag compressed?
Between trips, a down sleeping bag should rest loose in a large breathable sack or hanging storage space. Your bag keeps stronger loft where its fill is not held flat for months. Synthetic insulation also benefits from loose storage, though it handles compression somewhat better during travel.
How do you remove mildew from a tent?
Set the tent up in shade, brush away dry surface growth, and clean it with the fabric maker’s permitted method. Your next task is full drying, including seams and pockets, before storage. Heavy staining, peeling coatings, or persistent odor can signal fabric damage that cleaning will not correct.
What is a practical way to clean hiking boots?
Remove laces and insoles, brush away dry mud, then use cool water and a soft brush around seams, eyelets, and sole lugs. Your boots should air-dry away from heaters and direct sun. Use boot conditioner or waterproofing only where the boot material and maker directions allow it.
