

Dry ground, secure anchors, and an insulated sleep layer create a comfort-and-safety system that keeps cold soil from disrupting the night. Your lanterns and pillows come later. Set a bell tent on a soggy low spot, and even costly bedding can feel damp before midnight.
This walkthrough covers site selection, tent layers, sleep comfort, weatherproofing, lighting, bug control, and pack-down for a family backyard sleepout.
A Dry, Clear Site Sets Up a Better Overnight Stay
Water runs toward low ground after rain, a sprinkler cycle, or roof runoff. Choose a flat patch with firm soil and visible drainage away from muddy turf, depressions, runoff channels, and sprinkler heads. Your sleeping area needs to stay dry without depending on a tarp to solve a drainage problem.
Distance matters as much as soil. Leave room between the tent and fences, sheds, walls, and low branches, then check that your route to the bathroom stays clear after dark. A short walk across wet grass feels very different while carrying a sleeping child or a laundry basket.
Access and overhead space shape the night
Carry a folded cot or laundry basket from the house to the selected patch before pitching anything. That walk exposes narrow gates, loose gravel, stairs, and wet grass that could complicate bedtime. Your tent door also needs a direct path back to the house for water, bathroom trips, and an indoor move during rough weather.
- Check the canopy: Look for dead limbs, hanging branches, and dripping foliage above the proposed sleeping area.
- Mark sprinkler heads: Find buried pop-up heads before stakes or tent poles damage them.
- Check privacy lines: Face doors away from neighboring windows, gates, and bright porch lights.
- Clear hard debris: Remove sticks, stones, roots, seed pods, and sharp mulch before fabric touches soil.
- Leave an exit path: Keep a clear route from the door to your house for children, water, and late-night bathroom trips.
- Watch roof runoff: Stay beyond the drip line where gutters can release water during rain.
A smooth surface protects sleep and fabric
Small stones become pressure points under a camping mattress, and twigs can wear through a thin floor during a single night. Rake the area, then kneel across the surface with your hands. Your palms will find sharp bits that bare feet and bedding can miss.
Skip a site beneath weak branches or beside a downspout. A tent does not protect you from falling limbs or concentrated roof runoff.
That level patch sets the limit for every decision that follows. A larger shelter feels roomy only when its base sits flat and stays clear of pooled water.
Even level ground can wick moisture upward, making the layers beneath the shelter just as important.
Tent and Ground Layers Control Moisture From Below
With the site cleared, match the shelter footprint to the usable lawn instead of forcing a large canvas tent into a tight corner. A bell tent gives standing room and a polished look for two to four sleepers. A compact dome tent suits a one-night sleepout with less setup time.
Tent style follows your overnight plan
CanvasCamp and Lotus Belle make bell-style canvas tents with tall walls that leave room for low furniture without crowding the door. A Coleman dome tent is lighter and faster to pitch for an occasional campout. Your tent selection depends on headroom, sleeper count, weather exposure, and storage space after pack-down.
Canvas breathes better than coated nylon during humid weather, yet it needs thorough drying before storage. Nylon dries faster and weighs less, but its low walls can make a queen air mattress fill most of the interior. These comfortable tent setup ideas start with usable floor space rather than decorative extras.
| Ground layer | Job | Placement |
|---|---|---|
| Tent footprint | Guards the floor from abrasion and ground moisture | Directly beneath the shelter |
| Ground tarp | Acts as a sacrificial moisture barrier | Folded beneath the footprint with no exposed edges |
| Waterproof tent floor | Blocks damp soil from entering the sleeping area | Built into the shelter |
| Outdoor rug | Adds warmth under bare feet | Inside, above the finished floor |
Exposed tarp edges route rain beneath the tent
Set a ground tarp slightly smaller than the tent footprint. A tarp that sticks out acts like a shallow tray, catches rain, and routes that water beneath the floor. Fold each edge inward before pitching, even during a dry evening.
For a backyard glamping tent setup that stays dry, place the footprint over the tucked tarp and pitch the shelter above both layers. Put the indoor outdoor rug inside last, after the floor is clean and dry.
Secure Anchoring Protects the Tent in Wind and Rain
The tucked tarp handles moisture below the floor, yet wind works from the sides and above. Loose fabric can pull doors out of shape and shift a rain fly during the night. Lay out poles and stakes before furniture enters the tent, then pitch the shelter on the cleared surface.
Even tension helps fabric shed water
Stake each designated loop, zip the doors before final tensioning, and tighten opposing points in small turns. Your fabric should look smooth rather than drum-tight. Overstretched seams wear faster, while slack panels can collect rainwater and flap overnight.
- Set corner stakes: Drive each stake at an angle away from the tent for stronger holding power.
- Attach guy lines: Secure each supplied line, especially on tall bell tents and broad rain flies.
- Check sunset tension: Recheck lines after cooling air changes fabric tension and soil firmness.
- Face doors wisely: Aim the entrance away from the strongest expected breeze and sprinkler spray.
- Pull stakes carefully: Loosen soil around stakes rather than pulling fabric loops during pack-down.
Some weather calls for an indoor night
Thunderstorms, strong wind alerts, a soaked lawn, extreme heat, and poor air quality call for moving the sleepout indoors. Decor cannot solve lightning, falling branches, heat stress, or smoke moving through tent ventilation. Your safest plan is choosing another night.
Never shelter inside a tent during lightning. Move indoors before the storm reaches your neighborhood, not after rain begins.
Rain protection comes from site drainage, sound ground layers, tight fly coverage, and secure guy lines. That is how to weatherproof a backyard tent without treating cushions and solar string lights as weather gear.
Once the shelter can withstand weather, insulating the floor keeps overnight comfort from depending on the forecast.
Sleep Comfort Starts With Ground Insulation
After wind and rain are handled, cold ground still pulls heat from your body through thin bedding. A cot, air mattress, or insulated sleeping pad forms a barrier between you and cool soil. Placing quilts directly on the floor leaves your back cold and can leave bedding damp from trapped moisture.
Insulation matters as much as softness
| Sleep surface | Strong fit | Watch for |
|---|---|---|
| Folding cot | Adults who want firm support and airflow | Legs need a flat surface |
| Air mattress | Couples or children sharing a broad surface | Cold air inside can feel chilly overnight |
| Insulated sleeping pad | Solo sleepers and compact layouts | Less height for getting up |
Place a closed-cell foam pad beneath an air mattress on cool nights. That layer slows heat loss, while a fitted sheet stops the slick surface from feeling clammy. Your pillow should be a familiar home pillow rather than a decorative cushion that flattens before midnight.
Layered bedding handles nighttime swings
Start with sheets, then set out a blanket and a sleeping bag suited to the expected overnight low. Weather-resistant bedding works near tent walls, yet no blanket belongs against a damp sidewall. Your layers need to come off easily after a warm evening shifts into a 2 a.m. chill.
For a family layout, place children near the center, leave a clear door lane, and store water, glasses, and a flashlight in a bedside caddy. A queen air mattress beside the exit can block every path, turning a bathroom trip into a scramble over bedding.
A polished interior comes from restraint. Glamping tent furniture and decor should fit around sleep, airflow, and a clear exit instead of crowding those essentials.
Lighting and Amenities Need Clear Safety Boundaries
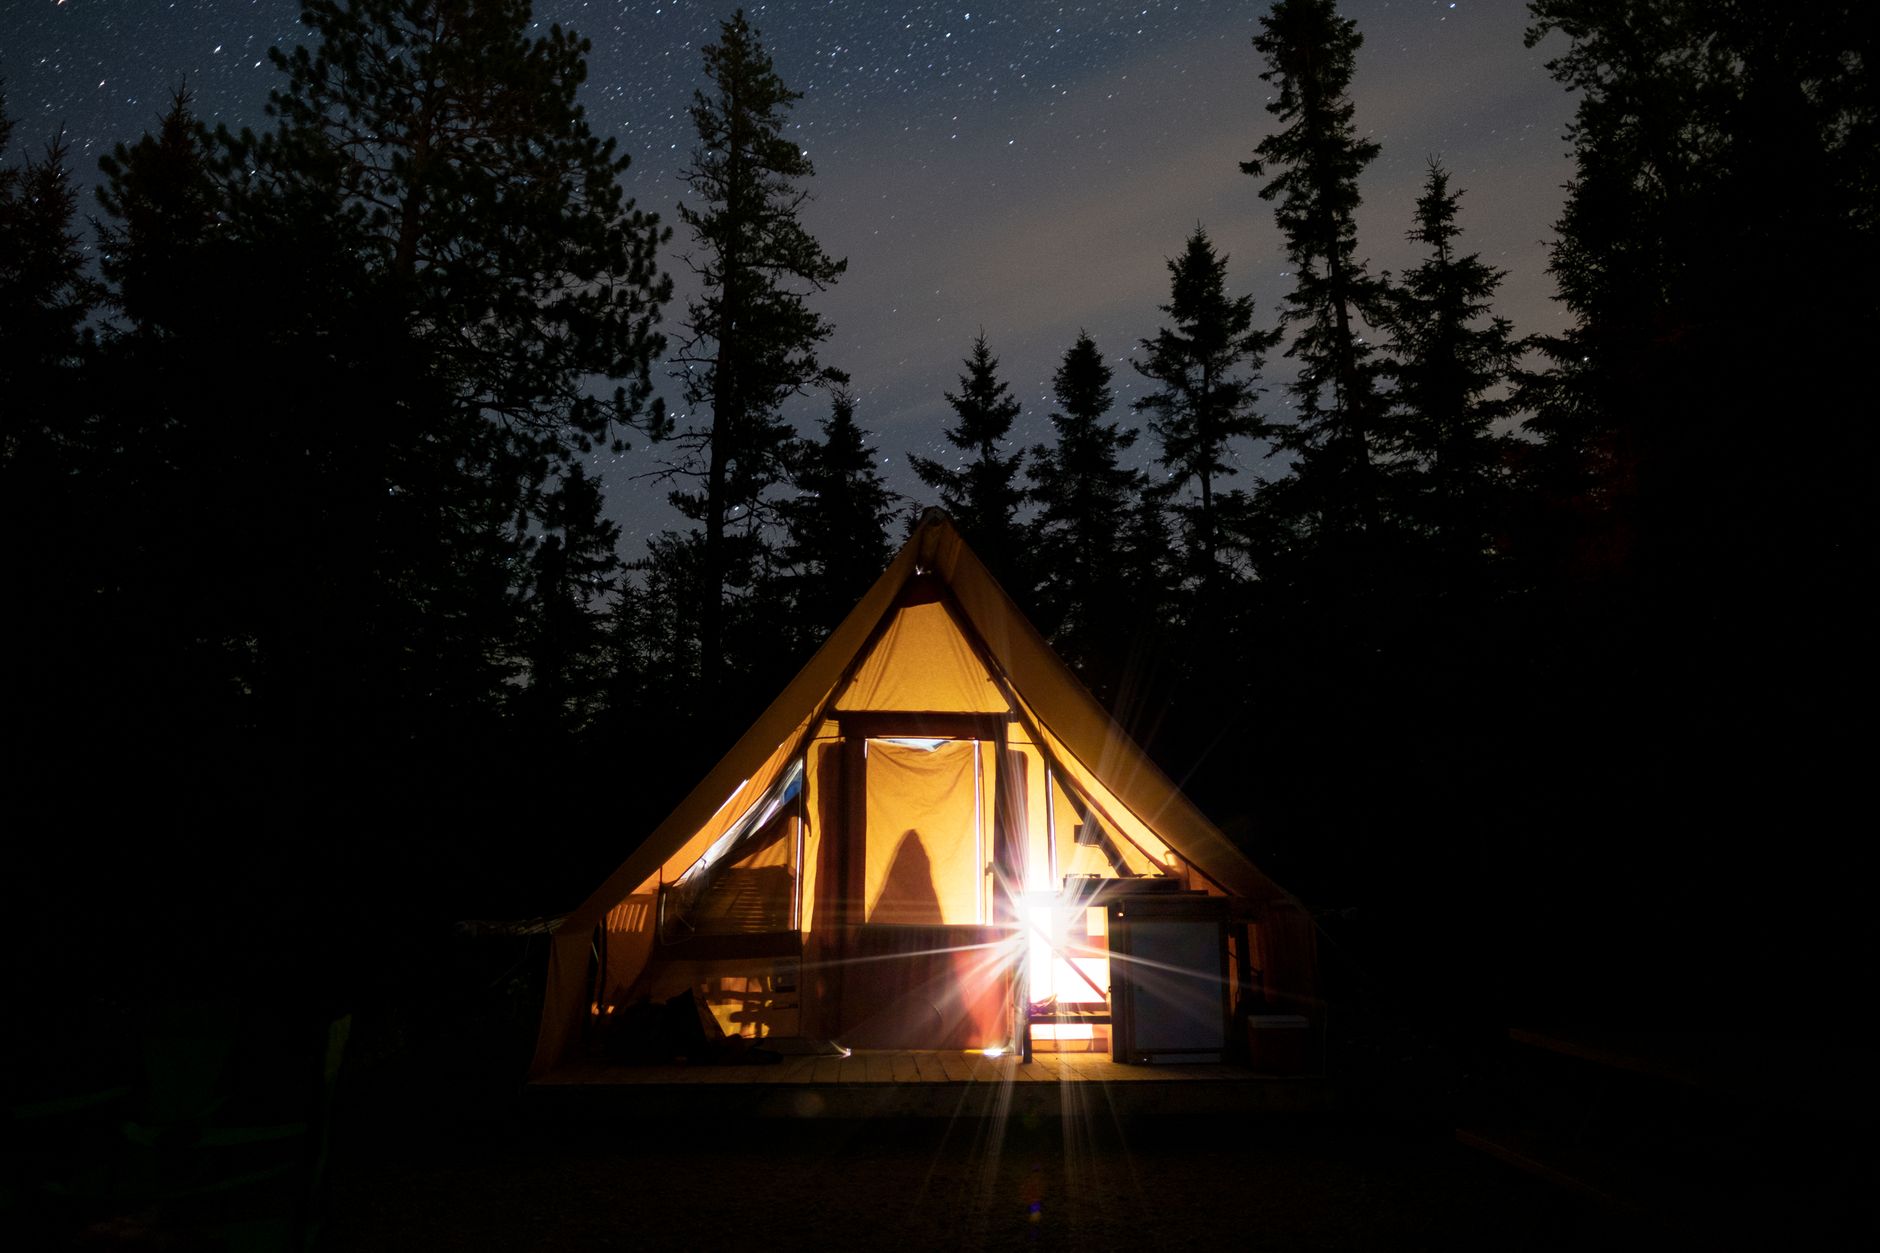
A low LED lantern beside each sleeping spot gives better night visibility than one harsh ceiling light. Use battery-powered lanterns, headlamps, solar string lights, or sealed LED strands. Your tent should never contain candles, fuel lamps, grills, propane heaters, or another combustion device.
Soft details come after the practical pieces
Set the outdoor rug inside after the floor is dry. Add floor cushions, a low folding table, soft throws, and a small caddy without covering vents or narrowing the doorway. Insect protection starts with closed mesh doors, which form a stronger barrier than loose netting at the entrance.
- Choose LED lanterns: Battery lights stay cool and lower fire risk around fabric and bedding.
- Use low seating: Folding stools fit beneath tent walls without pressing against wet fabric.
- Keep exits clear: Place trunks, coolers, and decor away from the door and center aisle.
- Limit loose textiles: Put extra blankets in a basket rather than across a walking path.
- Shield power joins: Keep plugs off wet ground and away from rain-exposed edges.
Electricity needs outdoor discipline
A portable power station can run a phone charger, small fan, or LED lights without dragging a cord across wet grass. For corded equipment, choose outdoor-rated connections and cover each join from rain. Your power load should stay modest because tents are fabric shelters, not utility rooms.
Heat and combustion create risks that fabric walls cannot contain. Carbon monoxide has no smell, so propane heaters and charcoal grills belong outside the tent, far from doors and windows. That approach aligns with fire safety guidance from the National Fire Protection Association.
An Evening Routine Handles Bugs, Food, and Pack-Down
Even a well-pitched tent can feel sticky after several sleepers breathe through a humid night. Open mesh doors or roof vents during suitable weather, and leave wet towels, swimsuits, and shoes outside the sleeping area. Your tent needs a clear route for moist air to leave.
A short routine reduces overnight surprises
- Check the forecast: Review rain, wind, temperature, lightning, and air-quality conditions before bedding goes inside.
- Seal food: Put snacks in hard-sided containers, such as a YETI cooler or latched storage bin.
- Close mesh barriers: Zip screens before porch lights draw moths, mosquitoes, and flying beetles toward the entrance.
- Remove trash: Carry wrappers and food scraps indoors before sleep so animals have less reason to visit.
- Set night lights: Place one lantern near the exit and another along the route to your house.
Yard-based insect protection works better outside the sleeping area than inside it. Drain standing water, trim grass around the site, and treat screens as your main barrier. Food stored in sealed containers gives ants, raccoons, and neighborhood cats less reason to investigate your camp.
Fire and storage require separate plans
Check local fire restrictions before using a designated outdoor fire pit. Keep the fire supervised, place it well away from fabric, and put ashes out completely before bed. Your backyard glamping ideas should not depend on a fire feature for warmth or lighting.
After the sleepout, air out every textile and inspect the floor for damp spots. Leave a canvas tent up only through a short, dry stretch with routine checks for UV wear, mildew, lawn damage, and incoming storms. The Leave No Trace Center for Outdoor Ethics promotes leaving outdoor spaces in good condition, which fits your own grass as well.
Putting the Pieces Together
Your most comfortable night comes from the order of decisions: dry ground, correct layers, secure anchoring, insulated sleep, safe light, and a clear weather plan. Decor earns its place after those basics work. A backyard tent feels luxurious because you can relax inside it, not because every surface holds another blanket or lantern.
Start with the site, then finish the shelter before bringing in bedding and decor. That order gives you room to spot drainage issues, loose guy lines, blocked exits, or damp flooring before your family settles in for the night.
FAQ
What do you need for a backyard glamping setup?
You need a stable tent, a flat drained site, a footprint or tucked ground tarp, stakes, guy lines, an insulated sleep surface, layered bedding, LED lights, water, sealed food storage, and a weather plan. Your comfort rises sharply after the floor, sleep layer, and ventilation are handled before decorative pieces arrive.
How do you prepare the ground before setting up a glamping tent?
Choose a firm, level patch away from low spots, roof runoff, sprinkler heads, and overhead branches. Rake away sticks, stones, roots, and sharp mulch, then check the ground with your hands for pressure points. Your tent footprint needs flat contact with the soil to protect the floor and keep mattresses level.
How can you make a tent comfortable for sleeping?
Use a cot, air mattress, or insulated sleeping pad instead of bedding directly on the floor. Add sheets, a familiar pillow, a blanket, and a sleeping bag suited to the overnight low. Your layout needs a clear exit path, with damp shoes, towels, and bags stored outside the sleeping zone.
Which tent type suits backyard glamping?
A bell tent suits repeated backyard use because its tall center and near-vertical walls leave room for cots, rugs, and low seating. A dome tent fits a shorter sleepout and packs away faster. Your lawn space, storage room, weather exposure, and sleeper count should shape the tent selection.
How do you keep a glamping tent dry in rain?
Choose high, well-drained ground, clear debris, and place a tarp slightly smaller than the tent footprint beneath the floor. Stake the tent, tension the rain fly, and tighten guy lines. Your tarp edges must stay tucked beneath the footprint because exposed material catches runoff and directs water underneath.
Is it safe to use lights, heaters, or a fire pit near a glamping tent?
Battery-powered LED lanterns, headlamps, and string lights are suitable because they stay cool and need no flame. Your portable power station can handle small electronics, while outdoor cords need dry, protected connections. Keep candles, fuel lamps, heaters, grills, and fire pits away from tent fabric, doors, and sleeping areas.
