

Near dawn, humid shelter air turns to water when it touches fabric colder than its dew point. Your breath, damp gear, and a falling overnight temperature can leave droplets on the ceiling and walls, even after a dry, calm night. The droplet pattern separates interior moisture from rain entry or ground water.
You can trace the source, choose a drier pitch, adjust airflow, and keep your sleeping bag away from wet fabric during cold, rainy, humid, or crowded camp nights.
Droplet Patterns Separate Condensation From Leaks and Splashback
Broad beads across the ceiling and upper walls point to humid interior air meeting cold fabric. A leak starts at a more defined location, such as a seam, worn coating, torn panel, or floor corner. Your first task is to inspect where water appears and whether it developed during rain or near dawn.
Droplet Patterns Reveal the Source
- Wide wall coverage: Beads across broad panels, especially near the roof, show that humid interior air reached cold tent fabric.
- Seam-centered drips: Water following a stitched line during rain points to seam tape, seam sealer, or coating damage.
- Single wet patch: A damp spot below a tear, abrasion mark, or pole contact point calls for a close fabric inspection.
- Morning-only moisture: Dry walls at bedtime and wet walls at dawn strongly fit a dew point event.
- Dirty lower walls: Dirt-specked moisture near the bathtub floor points toward splashback or runoff beneath the shelter.
Check the rainfly before blaming the tent body. Contact between the fly and the mesh inner can transfer water through capillary action or shake droplets inward. Tight guy lines restore the air gap used in designs from MSR, Big Agnes, and NEMO Equipment.
Ground Water Can Imitate a Tent Leak
Rain striking bare soil can bounce several inches upward beside a hard-packed campsite. Splashback leaves dirty moisture low on the walls, while pooled water beneath the floor pushes upward at pressure points. Those clues call for drainage changes rather than more roof ventilation.
Keep every edge of your groundsheet inside the tent perimeter. A footprint extending beyond the floor catches rain and channels it beneath your shelter like a shallow tray.
Your footprint protects the floor from abrasion and damp soil, but it cannot stop airborne moisture from settling on cold walls. An oversized groundsheet can also create a misleading floor-water problem after rain. Once ground water is ruled out, temperature becomes the next clue.
Dew Point Changes Humid Air Into Wall Droplets
Cold fabric acts like the side of an iced drink. Water vapor in warm shelter air turns into liquid after it reaches a surface below the dew point, the temperature where that air cannot hold all of its moisture. Your rainfly can cool fast because its outer face meets the night air.
Cooling Raises Relative Humidity
Relative humidity describes how full the air is with water vapor at its current temperature. At 80 percent relative humidity, a modest overnight temperature drop can bring the air to saturation. That is why a dry tent at 9 p.m. can have wet walls by 5 a.m.
A clear autumn night shows the process plainly. You breathe through six hours of sleep, the rainfly cools, and vapor turns into droplets without a single drop of rain. The temperature change, rather than failed gear, produces the moisture.
Breathable Fabric Has Limits
Breathable tent fabric can pass some vapor, yet a coated rainfly blocks rain and moves vapor far more slowly than open mesh. That trade-off keeps weather outside while leaving interior humidity dependent on vents, panel spacing, and outdoor conditions.
Your body supplies moisture, cold fabric supplies the condensing surface, and an enclosed shelter slows the exit route. The amount of water on the walls depends on what enters the air overnight.
Campers, Gear, and Weather Raise the Moisture Load
Every exhale adds warm, damp air to a small enclosed space. Two adults, a dog, and wet trail layers can load a two-person shelter beyond what roof vents can move during a still night. Packed sleeping quarters also put shoulders and sleeping bags closer to wet walls.
Sleepers and Gear Feed Interior Humidity
- Breathing overnight: Your breath releases water vapor for hours, with the heaviest buildup near a closed roof and still air.
- Perspiration under insulation: A warm sleeping bag holds body heat while sweat vapor moves into the shelter air.
- Wet boots and socks: Damp footwear releases moisture slowly indoors and raises humidity beside your sleeping area.
- Snow-covered equipment: Melting snow on packs, gaiters, or skis becomes liquid water and then vapor inside a warm shelter.
- Cooking near bedding: Steam from a pot adds moisture and creates fire and carbon monoxide hazards in enclosed space.
Festival camping makes the moisture load harsher. Four occupants in a compact Coleman dome, with jackets over poles and little wind outside, can leave walls wet despite open vents. Your shoulder also has less room to avoid a damp panel in that setup.
Site Humidity Sets the Starting Point
Wet grass, snowpack, lakeshores, creek bottoms, and wooded hollows add moisture to the air around your campsite. Ventilation works by exchanging humid interior air with drier exterior air. It has less effect where outside air is already close to saturation.
Keep soaked layers in the vestibule, shake rain from a shell before entry, and leave a pet’s wet coat outside the sleep compartment. Those choices reduce the moisture that vents must move. Your shelter still needs airflow, but dry gear lowers the load before bedtime.
Campsite Selection and Airflow Lower the Risk
A sheltered hollow can become a cold bowl before dawn. Higher, well-drained ground exposes your tent to moving air and avoids the chilled, humid layer that settles near grass and standing water. Campsite selection matters most near lakes, creeks, wet meadows, and forested low points.
A Taut Fly Keeps Layers Apart
Pitch the rainfly tight enough that it does not sag onto the mesh inner tent. The air gap lets warm moist air rise toward high vents instead of collecting between touching layers. A mesh inner also keeps your quilt away from the wet outer fly.
Stake placement matters more than extra tension. On uneven ground, adjust each corner before pulling vestibule guy lines, then revisit tension after the fabric cools. Nylon can relax overnight and leave the fly close enough to transfer droplets inward.
Protected Vents Move Humid Air
| Camping condition | Vent setup | Practical limit |
|---|---|---|
| Dry cold night | Open roof vents and crack the leeward door | Cold air enters, yet humidity drops |
| Steady rain | Use covered vents and a sheltered vestibule opening | Wind can blow rain through exposed openings |
| Lakeside humidity | Use every protected vent and keep wet gear outside | Outside air can carry little drying capacity |
| Warm humid night | Maximize mesh exposure and door airflow | Wall moisture can still form near dawn |
Leave No Trace site selection favors durable, established ground rather than fragile vegetation near water. For your comfort, the same choice avoids soaking grass and cold drainage paths. Tent ventilation tips work best with a taut fly, a high vent, and a sheltered low opening.
Rainfly ventilation lowers interior humidity, but it cannot remove every droplet where outdoor air is humid or temperatures sink below the dew point. In rain, keep covered roof vents open and use a sheltered vestibule gap rather than leaving the whole door exposed.
Overnight Steps Protect Sleeping Gear
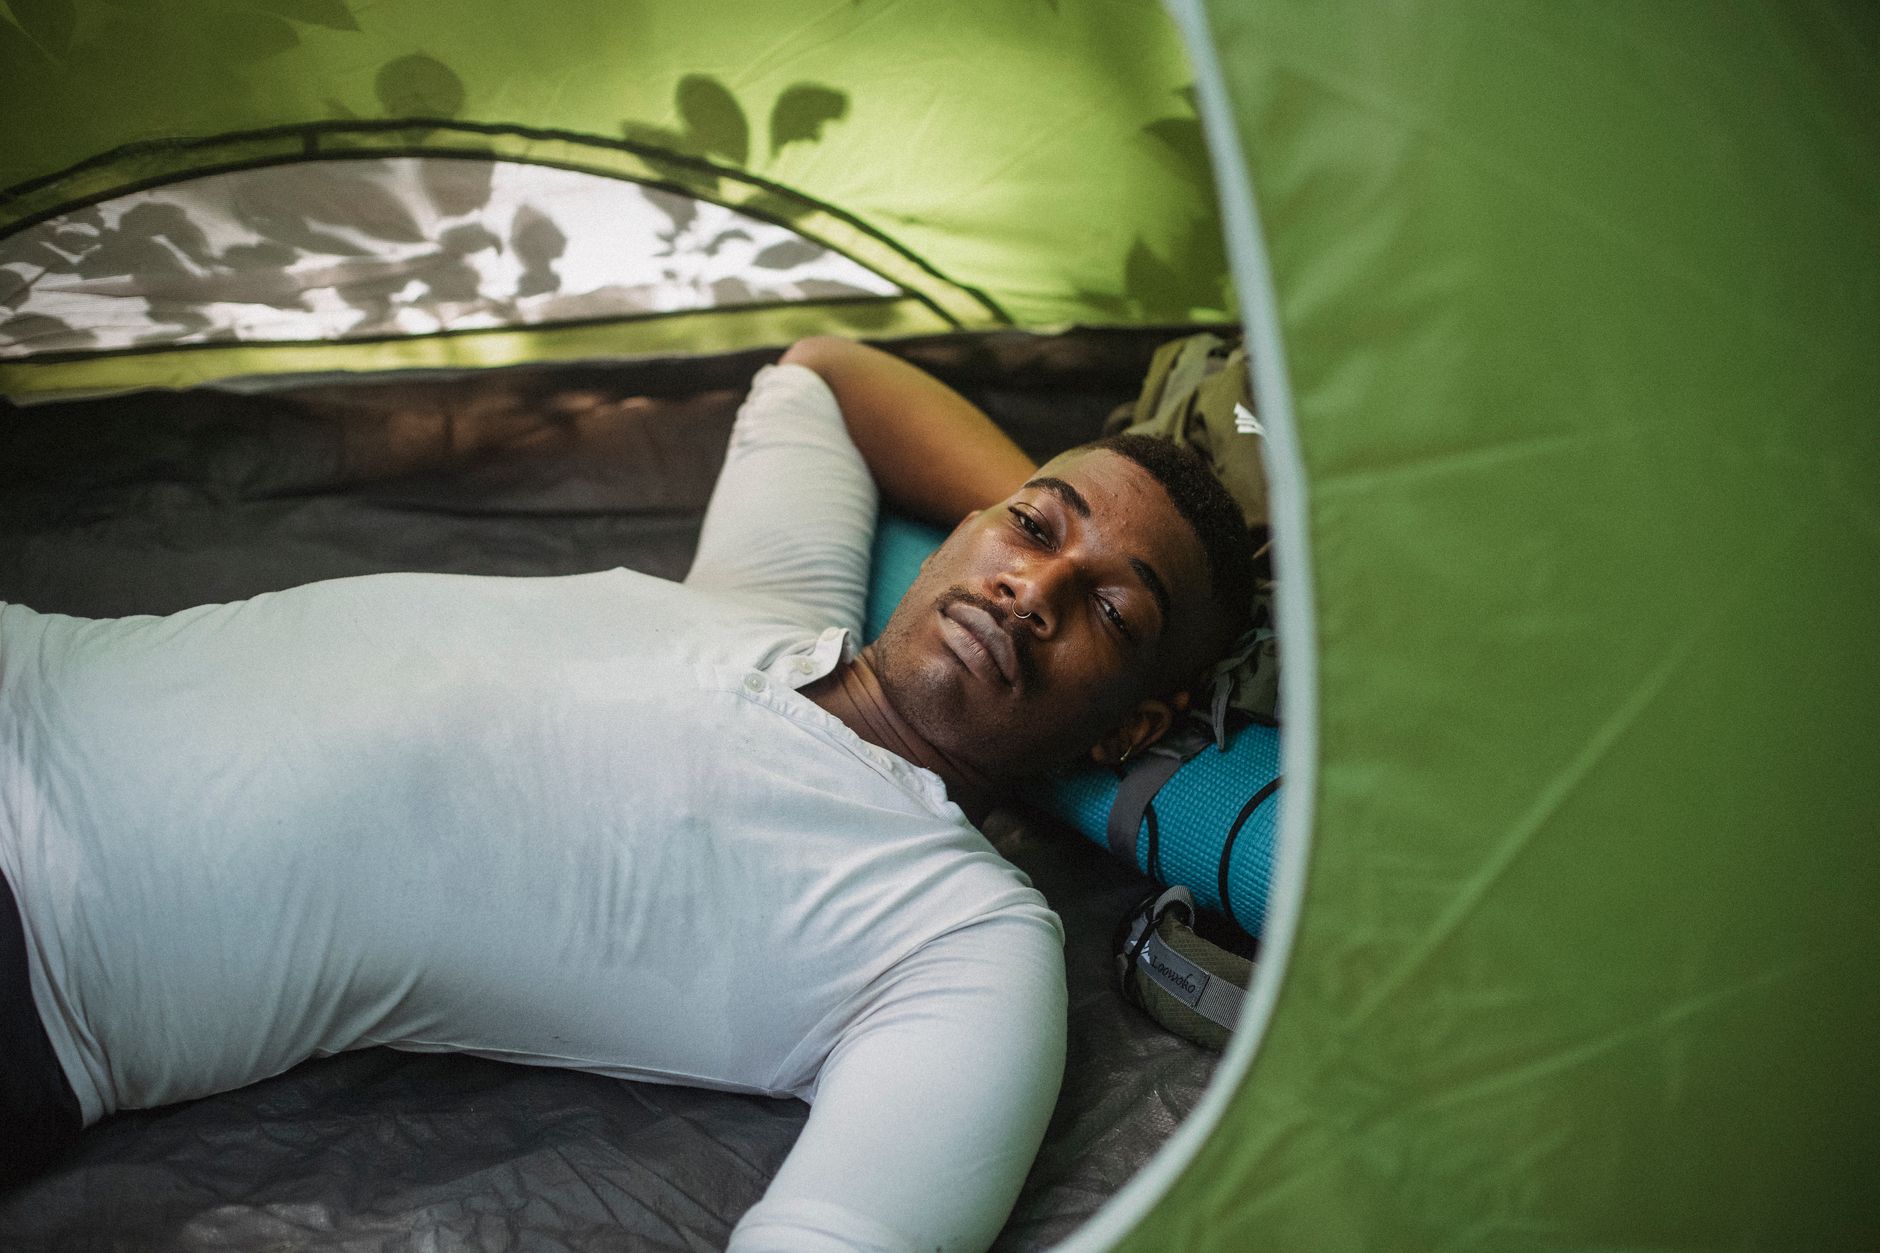
A wet wall becomes a serious problem once your down bag presses against it. Contact can wick water through shell fabric or knock droplets onto insulation, where even a small damp patch reduces warmth during a cold camp night. Protect your dry sleeping area before chasing every bead on the ceiling.
Keep a Dry Zone Around Your Sleep System
- Move insulation inward: Shift your sleeping bag, quilt, spare layers, and electronics several inches away from every wall.
- Open covered vents: Use high and low openings so humid air has an exit route without inviting direct rain.
- Relocate wet gear: Put boots, rainwear, and soaked packs in the vestibule or a sheltered exterior spot.
- Blot loose droplets: Use a pack towel on interior panels, then wring it outside rather than onto the floor.
- Stop indoor cooking: Move food preparation outdoors or under a properly ventilated shelter away from sleeping gear.
Your sleeping bag needs clearance from walls even after droplets have formed. A dry synthetic jacket can act as a short-term wall buffer near a shoulder, but no clothing barrier replaces space between your insulation and wet fabric.
Weather Changes the Useful Response
Dry cold air makes open vents feel unpleasant, but the airflow can lower interior humidity. During warm rain, sheltered openings and dry gear matter more because outside moisture limits the value of added airflow. You still gain protection by keeping insulation away from the walls.
Single-wall shelters need closer attention because no inner panel separates you from the surface where vapor condenses. A double-wall tent gives you more distance from wet fabric, while a single-wall tent rewards careful site choice, fewer damp items inside, and steady airflow.
Never run a fuel-burning stove inside a tent or vestibule. Ventilation for moisture does not make combustion fumes safe, and steam from cooking worsens interior dampness.
Morning light gives you a short drying window. Shake loose drops from the fly, spread your sleeping bag in moving air, and avoid packing wet fabric against insulation. Your camp routine matters even more on multi-day trips with limited drying hours.
When drying opportunities are scarce, a tent’s ventilation and fabric layout become a more consequential backup.
Tent Design Sets Your Margin for Damp Nights
Two layers give you a physical buffer that vents alone cannot supply. A double-wall tent places the wet rainfly outside a mesh or breathable fabric inner, while a single-wall tent puts you closer to the surface where vapor condenses.
Wall Construction Changes Moisture Contact
| Shelter style | Moisture behavior | Your main task |
|---|---|---|
| Double-wall tent | Fly collects moisture outside the inner compartment | Keep the fly separated and vents open |
| Single-wall tent | Interior surface can collect droplets near sleepers | Choose airy sites and protect sleeping gear |
| Tarp shelter | Open sides shed vapor well but expose you to wind | Set pitch height for weather and airflow |
The single-wall vs double-wall tent condensation choice comes down to your margin on damp nights. A single-wall model can work well above treeline or in dry climates, while a double-wall tent gives you more separation during humid forest camping.
Drying Keeps Moisture From Lingering
After camp, pitch the tent or hang each part until the fly, floor, pockets, and seam areas feel dry. Wipe the inside of the rainfly, air your sleeping bag, and inspect recurring wet spots. Water returning at the same seam after drying points toward repair work rather than normal wall moisture.
REI Co-op and tent makers such as MSR advise drying shelters before storage because trapped moisture can leave odor, mildew, and coating damage. Your groundsheet blocks abrasion and ground moisture, yet it cannot stop vapor from settling on cold walls.
Practical Takeaways for a Drier Shelter
Condensation is a moisture-balance problem: your breath and wet gear add vapor, cold fabric turns it into droplets, and airflow removes only what outside air can accept. Choose higher ground, maintain fly clearance, vent through protected openings, and keep insulation off the walls.
Those actions keep a normal overnight condition from becoming a wet sleeping bag or a false leak diagnosis. You cannot control the weather, but you can lower the moisture load and protect the gear that must stay dry.
FAQ
Why is the inside of my tent wet when it did not rain?
Your breath, perspiration, wet boots, and damp clothing raise interior humidity through the night. As the rainfly cools toward dawn, water vapor touches fabric below its dew point and becomes droplets. Widespread moisture on upper panels points to condensation rather than rain entering through a seam.
How do I stop condensation inside my tent?
You cannot remove every droplet during humid or cold conditions, but you can lower the moisture load. Pick elevated ground, pitch the fly taut, open protected vents, crack a leeward door, and store wet gear in the vestibule. Keep your sleeping bag clear of walls after moisture begins forming.
Is tent condensation normal?
By dawn, wall moisture commonly appears where warm humid interior air meets cold tent fabric. It becomes a gear problem after droplets drip, transfer through touching fabric, or soak insulation. Repeated water from one seam or damaged panel deserves inspection after the trip.
Should I keep tent vents open when it is cold?
Keep covered roof vents open during cold nights, then use a small protected door opening where weather permits. Your shelter will feel cooler, yet moving air carries away humid breath before it reaches the cold fly. Close openings only enough to block blowing rain or strong wind.
Does sleeping with the rainfly off reduce condensation?
Removing the fly can lower moisture buildup on dry, bug-free nights because warm air escapes through the mesh inner tent. Your shelter loses rain protection, wind blocking, and extra warmth, so reserve that setup for stable weather. A partial fly opening gives your tent more protection with added airflow.
How can I tell condensation from a leaking tent?
Condensation appears as broad beads on walls and ceilings after you sleep, even without rain. A leak starts at a repeatable seam, damaged coating, torn panel, or floor corner during rainfall. Check fly-to-inner contact and groundsheet overhang before deciding that your tent fabric has failed.
