

A sprained ankle or sudden storm can make routine habits and simple safeguards the difference between a setback and an emergency miles from help. On remote routes, soaked clothing, a missed turn, or an empty bottle gains weight fast because phone service, dependable water, and simple exits can sit days away.
You’ll find route planning, gear, water, navigation, weather, wildlife, and emergency decisions here, written for hikers heading beyond busy trail corridors.
Remote Trails Leave Less Room for Error
A busy park path can hide a poor choice. A remote basin cannot. Low foot traffic, long evacuation times, unstable crossings, and blank phone screens leave you responsible for warmth, water, energy, time, and location awareness.
Your route needs extra capacity at every stage. Fitness, season, skills, footwear, shelter, and food must fit the terrain. A heavy pack full of unfamiliar gear cannot cover a route beyond your ability.
Small Problems Gain Weight
Cold rain strips body heat after a hard climb ends in wind. A wrong turn before sunset can force an overnight stop without water. A sore knee can turn a six-mile exit into a slow and painful crawl.
Choose routes that leave time to stop, inspect conditions, and reverse course. A narrow margin disappears long before a situation feels dramatic.
Route closures can change your exit plan before your boots touch dirt. Check destination notices for roads, fires, trail damage, and closures, then confirm access details with the National Park Service or U.S. Forest Service for the area you plan to enter.
A Conservative Trip Plan Begins Before the Trailhead
Extra margin starts with mileage that does not force a race against dusk. Set each day around elevation gain, loose rock, stream crossings, altitude, water gaps, daylight, and the pace of the slowest person in your group.
Written Route Details Reduce Confusion
- Daily distance: Set modest mileage that leaves time for water treatment, camp setup, map checks, meals, and delays.
- Water points: Mark dependable sources, dry stretches, and the amount you need before the next source.
- Exit options: Mark trail junctions, roads, ranger stations, and drainages that offer a safer retreat.
- Camp choices: List legal campsites plus one backup site that does not require a late-day push.
- Daylight limit: Pick a firm stopping hour that leaves enough light for shelter and dinner.
Your trip plan belongs with a reliable contact before departure. Include the route, planned campsites, return time, vehicle description, parking location, permit details, communicator number, and instructions for reporting an overdue trip.
Conditions Matter More Than Calendar Dates
Weather and trail conditions can change within hours. Check the National Weather Service forecast, then review local fire, road, avalanche, trail damage, and stream-level notices. NOAA Weather Radio can add updates near a signal source.
A June route in the Sierra Nevada can hold steep snow above a dry trailhead. A desert wash can rise after rain falls miles away. Backpacking safety tips work only with the conditions under your boots, not the conditions you hoped to find.
Because conditions can shift faster than forecasts, practiced judgment and reliable equipment provide the margin a plan cannot.
Skills and Gear Form a Backcountry Safety Net
A charged phone helps, but it is not a rescue system. Cold drains batteries, screens break, and downloaded maps cannot tell you whether a hillside or creek crossing is safe.
The Ten Essentials Cover Linked Failures
The Ten Essentials address problems that can stack together outdoors. Your kit needs route-finding tools, illumination, sun protection, insulation, first aid, fire-starting tools, repair supplies, extra food, water treatment, and emergency shelter.
| Safety need | Useful equipment | Failure it covers |
|---|---|---|
| Route finding | Topographic map and compass | Dead phone or missed junction |
| Warmth and shelter | Rain shell, insulating layer, bivy, or tarp | Cold rain or an unplanned night out |
| Light and repair | Headlamp, spare batteries, tape, needle | Darkness or broken critical gear |
| Water and food | Water treatment filter, backup chemical method, extra calories | Dry source or delayed exit |
| Medical response | Wilderness first-aid kit and splint material | Bleeding, blisters, sprain, or fracture |
Carry a paper topographic map and compass, then practice orienting the map, taking a bearing, and matching ridges, saddles, and streams to contour lines. Your GPS can confirm a position, while the map shows the terrain between that position and a safer route.
Communication Tools Serve Different Roles
A satellite messenger such as Garmin inReach permits two-way messages and location sharing. A personal locator beacon (PLB) sends a dedicated distress signal but does not allow a text exchange. A SPOT Gen4 can share locations and preset messages, though features vary with the service plan.
Reserve SOS for an imminent threat beyond safe self-rescue. Send your location, injury or illness details, group size, available shelter, and next action through a satellite messenger whenever possible. Those details help rescue teams judge urgency and arrive with suitable resources.
Daily Trail Habits Limit Common Emergencies
Gear matters most through small choices made before discomfort turns sharp. Stop for water, food, layers, and a map check while you still have energy and daylight.
Water Needs a Source-to-Source Plan
Clear mountain water can carry bacteria, protozoa, or viruses. Use water treatment for remote sources, even above treeline. Your filter removes many organisms, while a chemical backup can cover a clogged filter or broken bottle.
Carry enough water for the next reliable source, not merely the next blue line on a map. Late-summer springs can vanish, and a creek marked on an older map can run beneath rocks. In dry country, fill at a known source rather than gambling on the next drainage.
Heat Loss and Heat Illness Start Quietly
Steady pacing protects your body better than repeated hard pushes followed by long rests. Eat at regular intervals, drink before thirst becomes intense, use sun protection, and add dry layers before shivering begins.
Your warm layer belongs near the top of the pack, not beneath cookware and food. A rain shell blocks wind-driven moisture, insulation traps warm air, and a dry sleeping layer protects your recovery through a cold night.
Food Storage Protects Wildlife and Camps
Secure food, trash, toiletries, and scented items through the method required for the area. A bear-resistant canister, bear box, or permitted hang keeps wildlife from learning that camps offer calories and keeps your tent from becoming an attractant.
Give animals room, never feed them, and back away from a blocked trail rather than forcing passage. Bear spray can fit travel in bear country, but distance, clean camp habits, and local rules remain the stronger protection. That approach aligns with Leave No Trace Center for Outdoor Ethics guidance on packing out scented scraps.
A Calm Response Buys Time During an Emergency
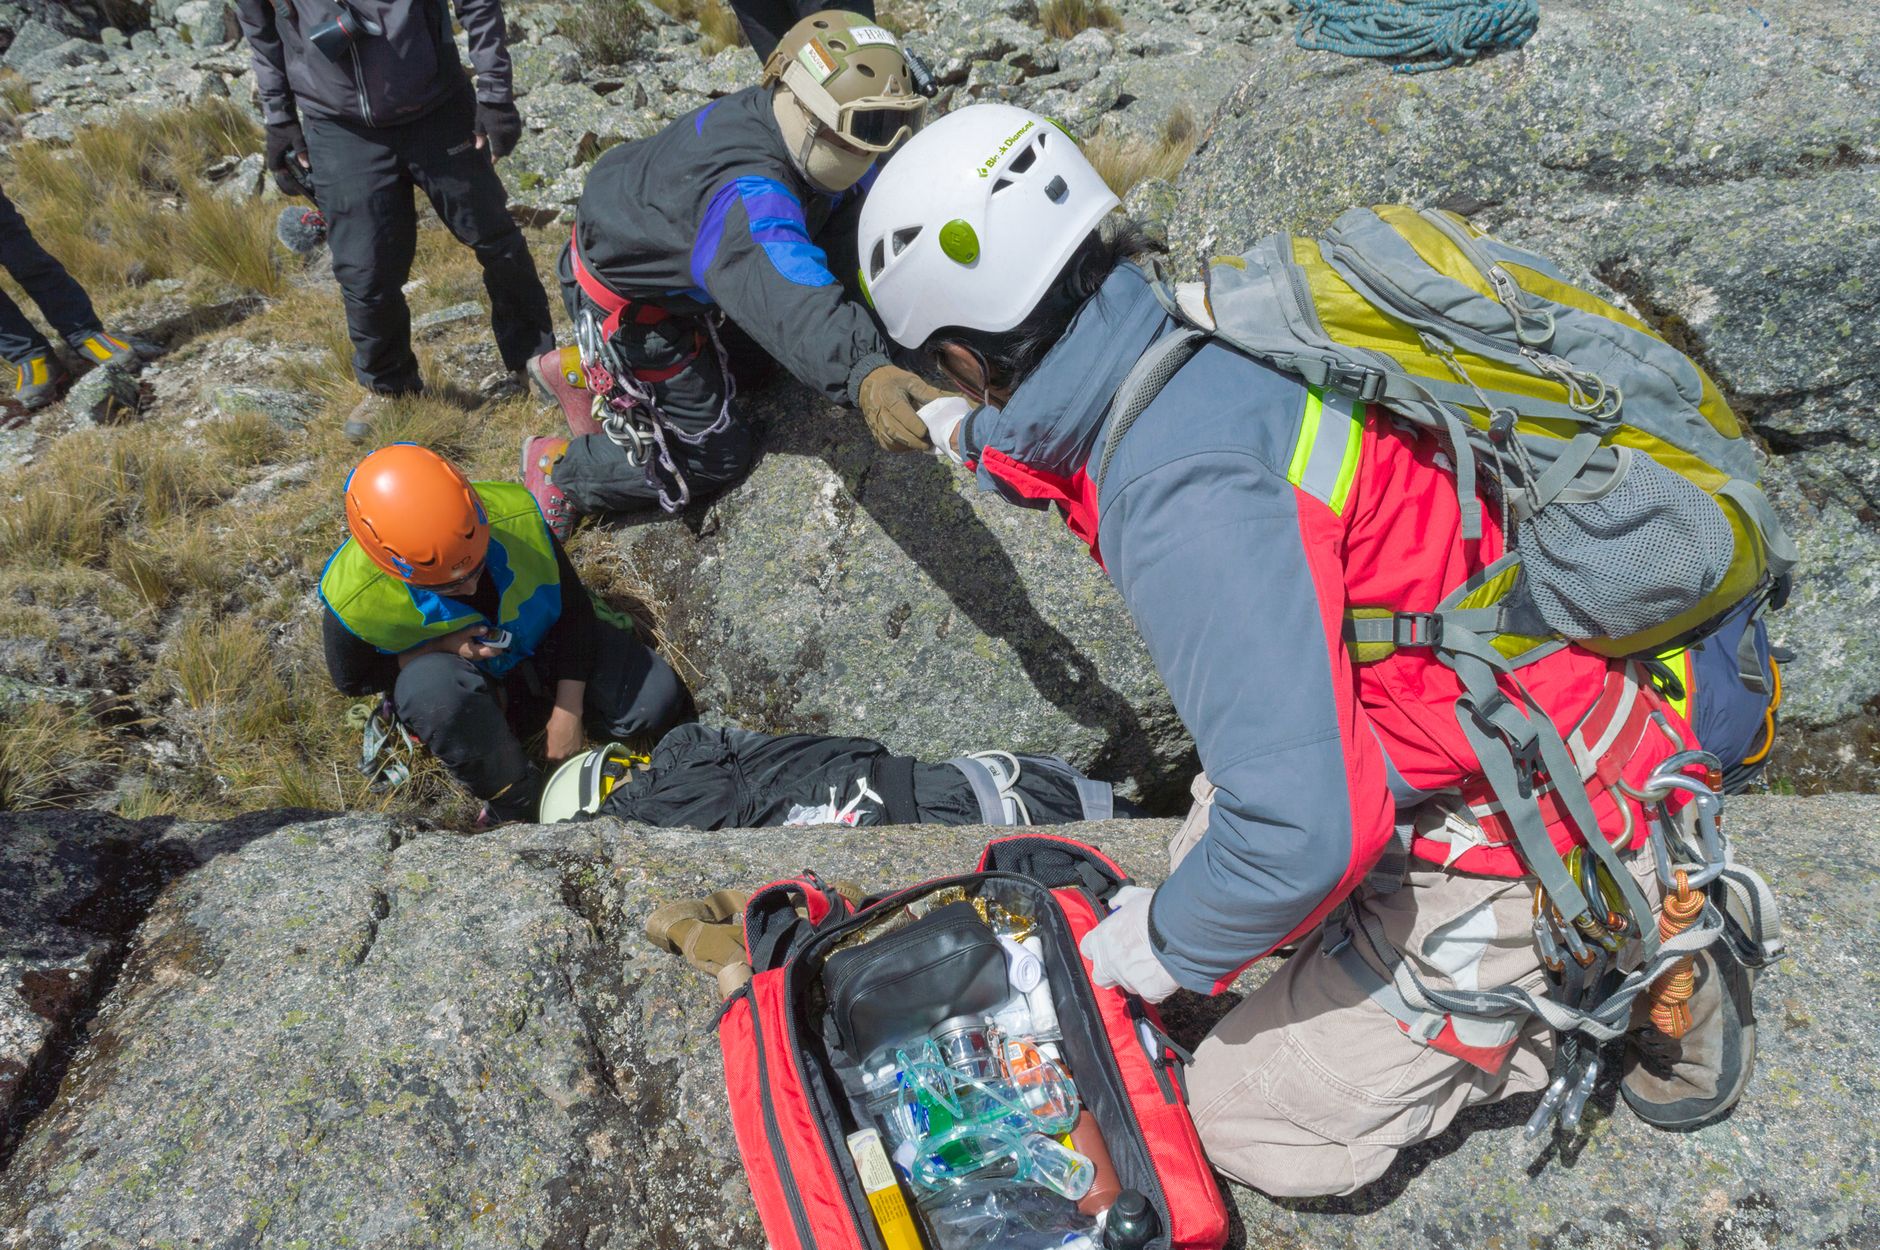
A missed turn grows more serious with every hurried step away from your last known point. Stop movement, gather your group, add layers, drink water, and place shelter between your body and wind or wet ground.
Lost Travel Calls for a Deliberate Pause
Mark your last known point on the topographic map. Review travel time, terrain features, compass bearing, and junctions passed since that point. A controlled backtrack on a known line is safer than wandering through brush and guessing.
Your phone location can help, but verify it against terrain rather than following an arrow blindly. Ravines, cliffs, and private land can sit between two close map points. Conserve battery with airplane mode between checks, and keep the paper map dry inside a sealed bag.
Medical Priorities Stay Physical and Simple
Control severe bleeding with firm direct pressure, protect the injured person from cold or heat, and immobilize a suspected fracture before moving. Wilderness first aid for hikers starts with immediate threats, then shifts toward evacuation, calories, hydration, and rest.
A twisted ankle on level ground can permit a slow exit. The same injury in a storm above treeline can justify an emergency signal. Basic bleeding control and first-aid training add useful skills, while wilderness medicine courses focus on delayed care and remote evacuation decisions.
Clear limits on what you can manage alone make an early change of plans easier to choose.
Send an SOS only for a life-threatening or unmanageable situation. A detailed nonemergency message can preserve rescue resources while giving your home contact a clear picture of your status.
Turning Back Is a Strong Safety Decision
Several manageable problems can join into one unsafe situation. A fading map position, rising creek, sore knee, shrinking water supply, incoming storm, and short daylight window deserve one combined judgment rather than separate excuses.
Preplanned Limits Resist Destination Pressure
Set turnaround times, water reserves, weather limits, and crossing limits before departure. Your solo backpacking safety depends on rules made while you are warm, rested, and able to view the full route without summit pressure.
A group planning to ford a creek can agree that water above mid-thigh, strong current, or rising flow means retreat. That choice feels easier at the bank because the threshold existed before fatigue and destination pressure entered the decision.
Evening Checks Protect the Next Day
At camp, check feet for hot spots, count water for breakfast and departure, dry critical layers, and inspect shelter setup before dark. Confirm the next day’s route, alternate exit, likely water source, and planned check-in message.
A satellite update can tell your contact that you are safe but moving slower than planned. Routine messages reduce uncertainty without turning a nonurgent delay into a search. These backpacking safety tips reward restraint, because a quiet camp and changed plan beat a forced march.
Final Thoughts
Your strongest backcountry tool is conservative judgment. Carry systems that cover cold, darkness, injury, thirst, and route errors, then use them before a problem gains momentum. A clear plan, practiced map skills, treated water, dry insulation, and a willingness to turn around give you time in remote country.
FAQ
What are the 10 essentials for backpacking?
The Ten Essentials include route-finding tools, illumination, sun protection, insulation, first aid, fire-starting tools, repair supplies, extra nutrition, hydration gear, and emergency shelter. Your exact items should fit the route, season, forecast, and nights outside.
What safety gear is essential for backpacking on remote trails?
Your core gear includes a topographic map, compass, headlamp, rain shell, insulation, emergency shelter, water treatment filter, extra food, repair supplies, and a wilderness first-aid kit. Add a satellite messenger or PLB where evacuation could take many hours.
How do you create and share a backpacking trip plan with an emergency contact?
Write your route, campsites, return time, vehicle location, permit details, water sources, exit routes, and communication schedule. Give that plan to a reliable contact before departure, along with the communicator number and overdue-trip instructions.
Should you carry a satellite messenger or a personal locator beacon on remote hikes?
A satellite messenger suits trips where you want location sharing and two-way updates. A PLB has a narrower role: it sends a distress signal during a severe emergency. Your choice depends on route isolation, group size, evacuation time, and your need for routine contact.
How can you navigate safely after phone signal or battery loss?
Use a paper topographic map and compass as your main backup. Mark junctions and major terrain features during travel, then confirm your position with ridges, saddles, streams, and contour lines. Your phone works better as a supplement than as your sole navigation tool.
How much water should you carry, and how should you treat backcountry water?
Carry enough water to reach the next reliable source, with extra volume for heat, elevation gain, and dry stretches. Treat remote water through a filter, purifier, or chemical method. Your backup method matters after a filter clogs or a bottle breaks.
